
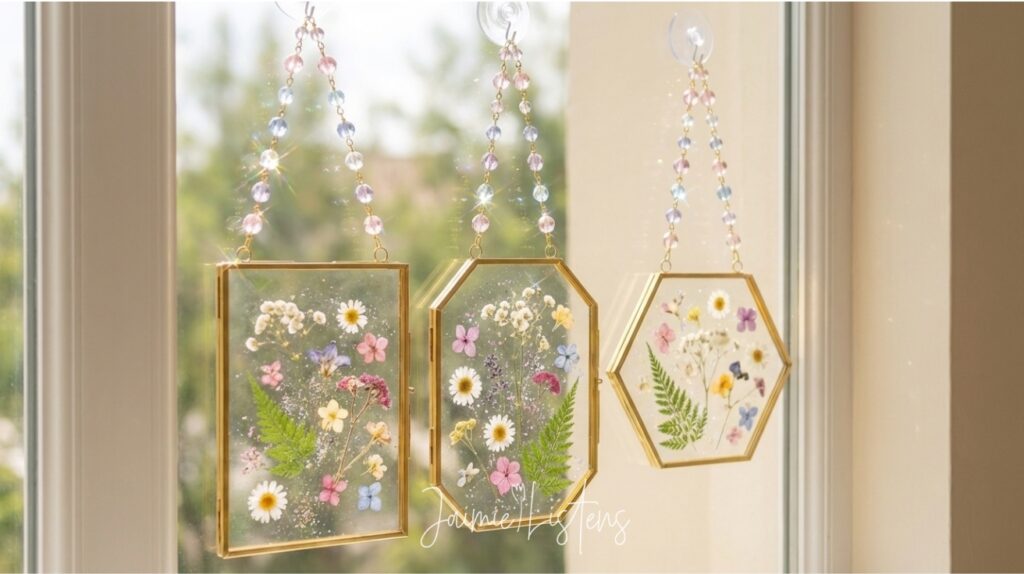
If you’ve ever tried to make one of those pressed flower suncatchers you see online… you already know the problem.
They should be simple.
A little glass, a few flowers, done.
But somehow they end up looking:
- cloudy
- cluttered
- or just… not quite right
And then you see the pretty ones (the ones hanging in soft window light that look like they belong in a boutique) and you’re left wondering what you missed.
Here’s the good news:
You didn’t miss anything complicated.
You just need a cleaner method, and one small detail that makes all the difference.
I’ll walk you through exactly how to make a pressed flower suncatcher that actually looks beautiful in your window. Not like a craft project you regret halfway through.
Affiliate Disclosure: Some links in this post are affiliate links, including Amazon links. As an Amazon Associate, I earn from qualifying purchases at no extra cost to you. It helps support this site and care for my rescue bunnies.
Pressed Flower Suncatcher DIY That Actually Looks Good in Your Window
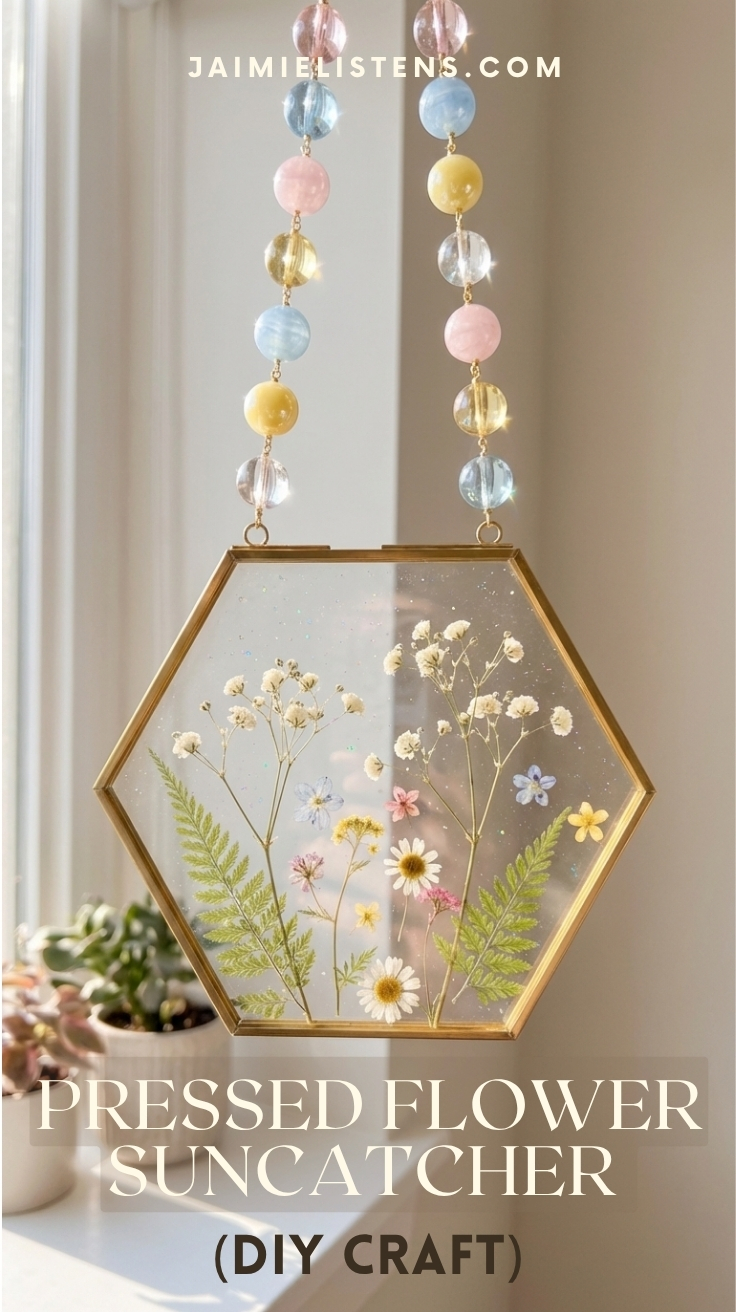
Most suncatcher craft tutorials focus on the steps.
But the real difference (the thing that makes one look homemade and another look like something you’d buy) is how you handle the details:
- how the glass is prepped
- how the flowers are placed
- how much glue is used (this is where things go sideways fast)
- and how everything is finished so it stays clear, not cloudy
This method keeps everything light, clean, and intentional so your flowers look like they’re floating—not stuck in place.
And yes… it’s still simple. Just not sloppy.
Supplies for This Project
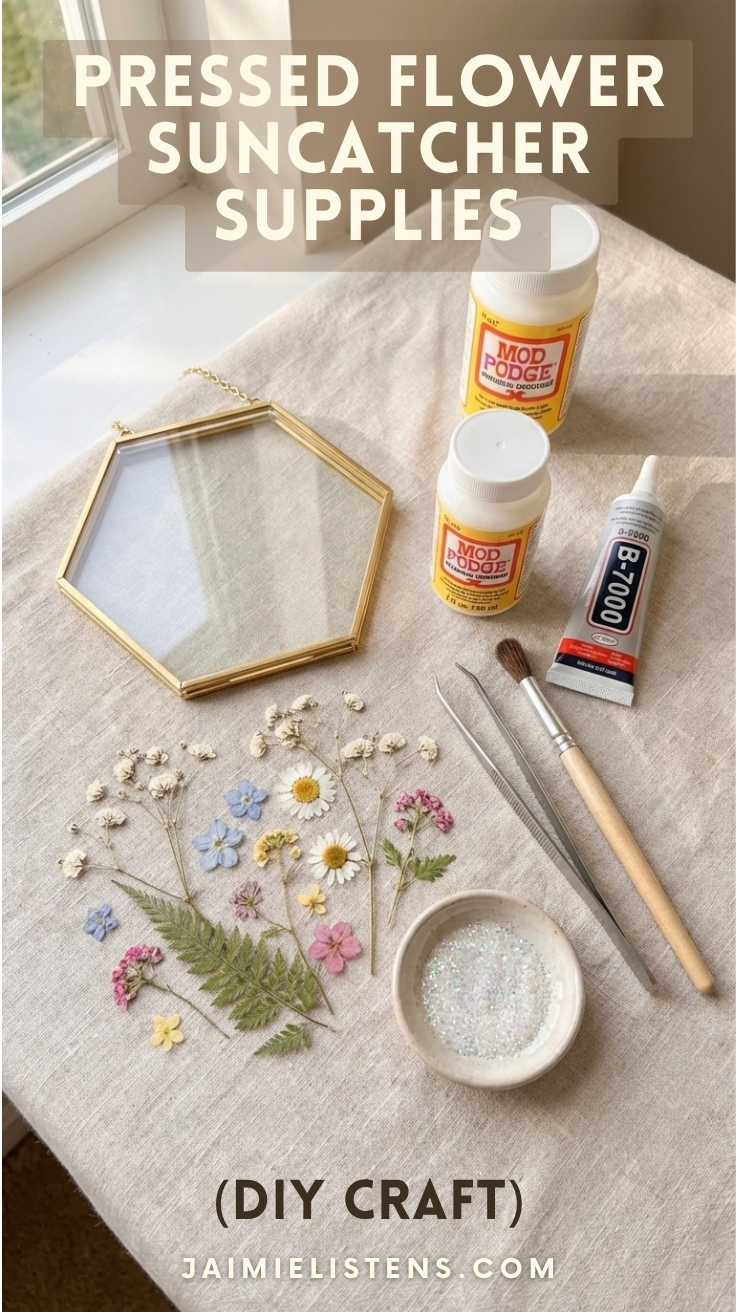
If you want to make this project, here are the main supplies I used or looked for:
Must-haves
Optional but helpful
- Mod Podge (clear or gloss)
- Fine iridescent glitter
- Suction cups with hooks
- Glass beads
- Jewelry pliers
- Small paint brushes
These are just examples to make things easier—use what you already have if it works for this method.
Step 1: Clean the Glass First
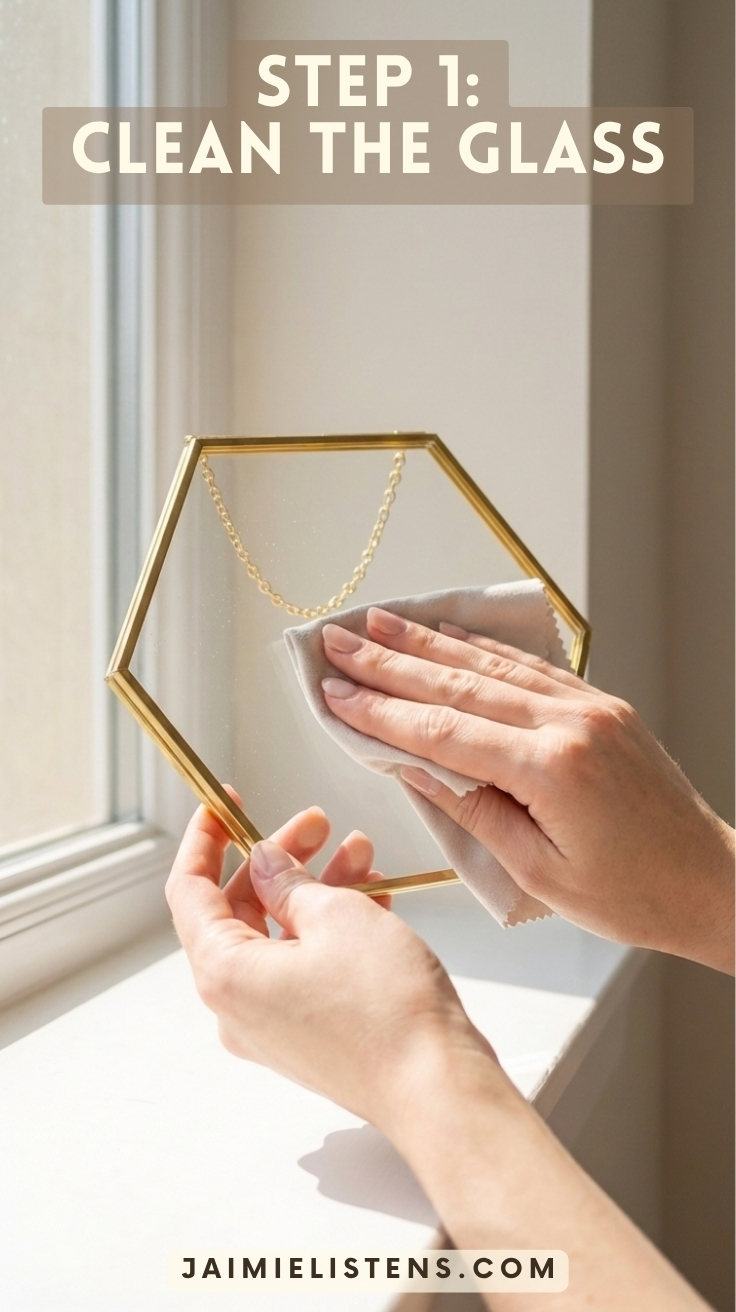
This is the part that feels skippable right up until you close the frame and realize you trapped a fingerprint in there forever.
So before you do anything else, clean both pieces of glass well.
Use a soft lint-free cloth and make sure you remove:
- dust
- smudges
- fingerprints
- little mystery fuzzies that magically appear the second you’re working with glass
It does not take long, but it makes a huge difference in the finished look.
When light shines through this piece, every little speck shows up more than you think it will. Starting with clean glass gives you that crisp, clear look that makes the flowers stand out instead of making the whole thing look cloudy or messy before you even begin.
Step 2: Arrange the Flowers Before You Glue Anything
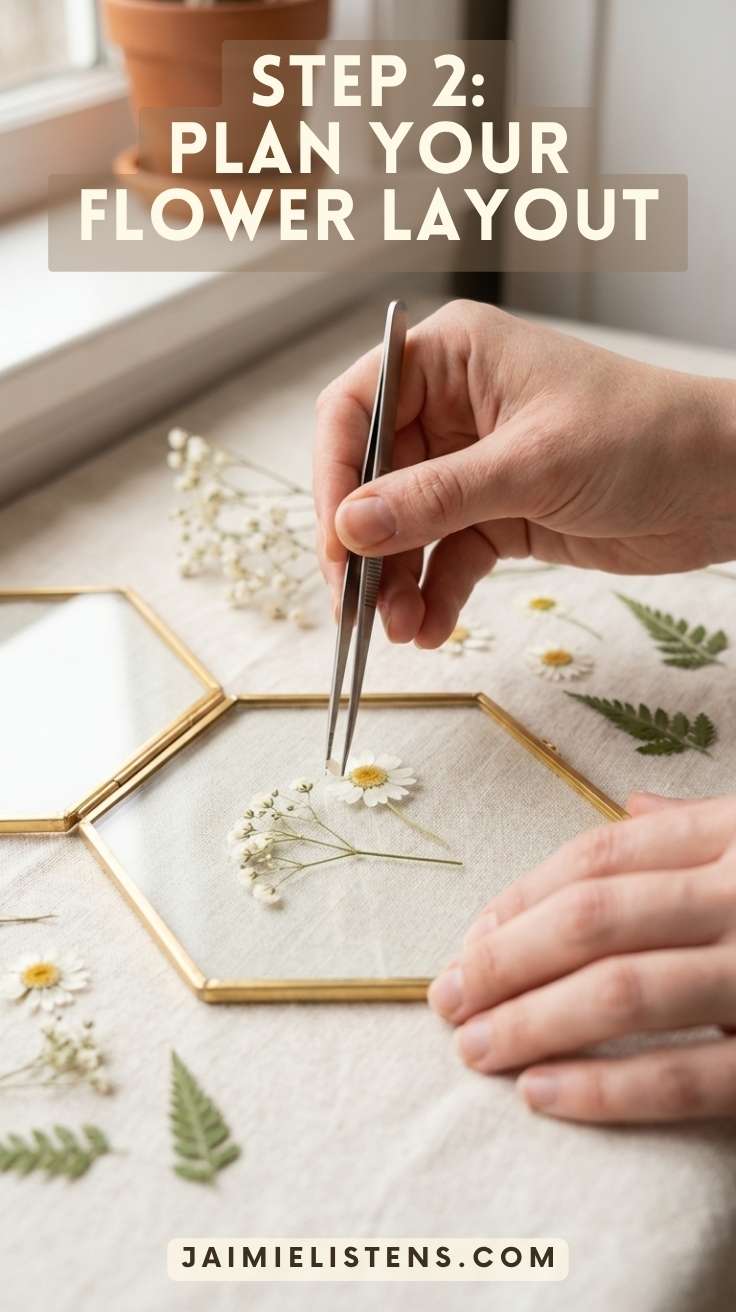
Once the glass is clean, lay one pane flat and start arranging your pressed flowers on top.
Do not start gluing right away.
This is the moment to play with the layout a little and see what actually looks good in the frame. Start with one focal flower or small cluster, then add a few lighter pieces around it. Tiny daisies, fern pieces, and airy filler flowers work especially well here because they let light through and keep the design from feeling heavy.
A good rule is to leave more open space than you think you need.
That empty space is what keeps the suncatcher looking light and pretty in the window instead of crowded and flat. If every inch is full, the whole thing starts to lose that soft floating look that makes these so pretty in the first place.
Pro Tip: Before you move on, take a quick picture of your layout.
That little step can save you a headache if something shifts later. It is much easier to fix a flower placement when you have a reference photo than when you are trying to remember where that one tiny stem was supposed to go.
If you want, next I’ll write the glue step and the optional sparkle step so they flow naturally into the frame-closing section.
Step 3: Tack the Flowers in Place (Tiny Dots Only)
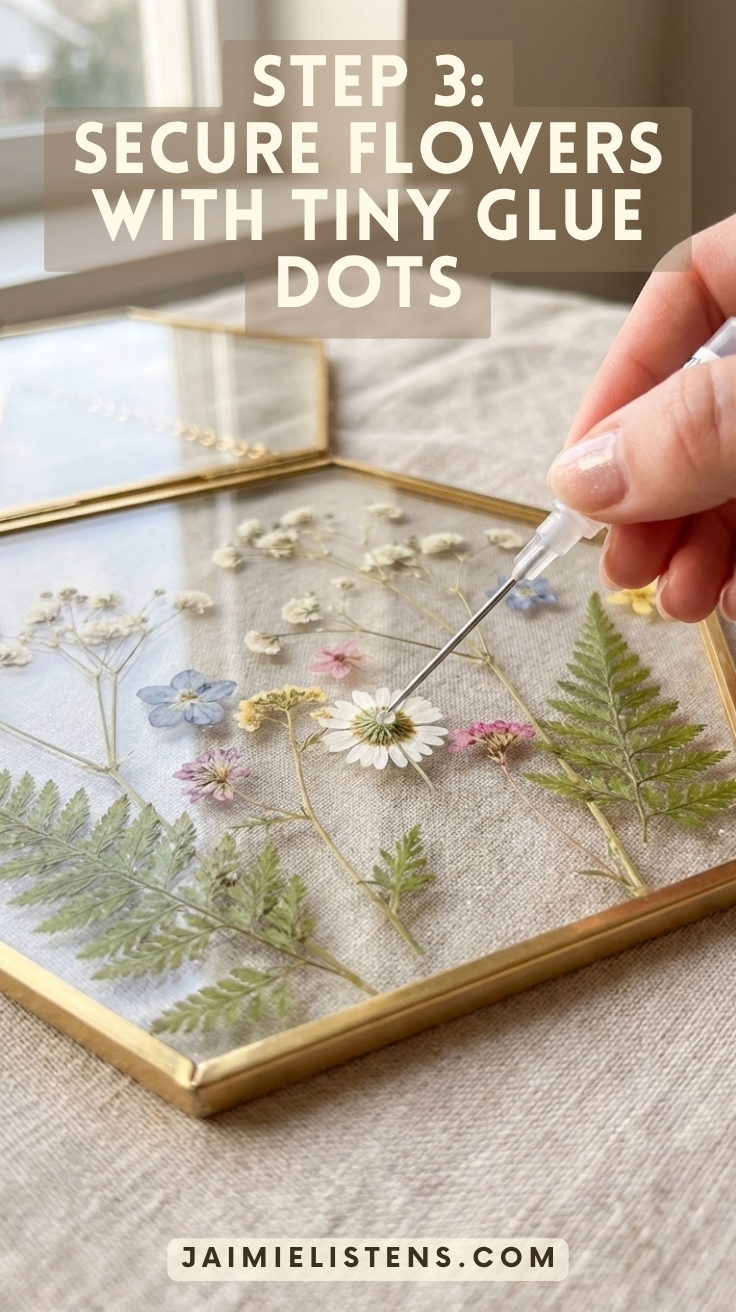
Once you’re happy with your layout, it’s time to secure everything—but this is where a lot of projects go sideways.
You’re not gluing the whole piece.
You’re just anchoring the flowers so they don’t move.
Using your precision-tip adhesive, add very small dots of glue under the centers or along the stems of each flower. A needle tip or toothpick helps keep this controlled.
Press gently and let it set.
Less really is more here. If you can clearly see the glue, it’s probably too much. The goal is to keep everything looking like it’s floating inside the glass, not stuck down with visible adhesive.
Step 4: Add a Light Touch of Sparkle (Optional)
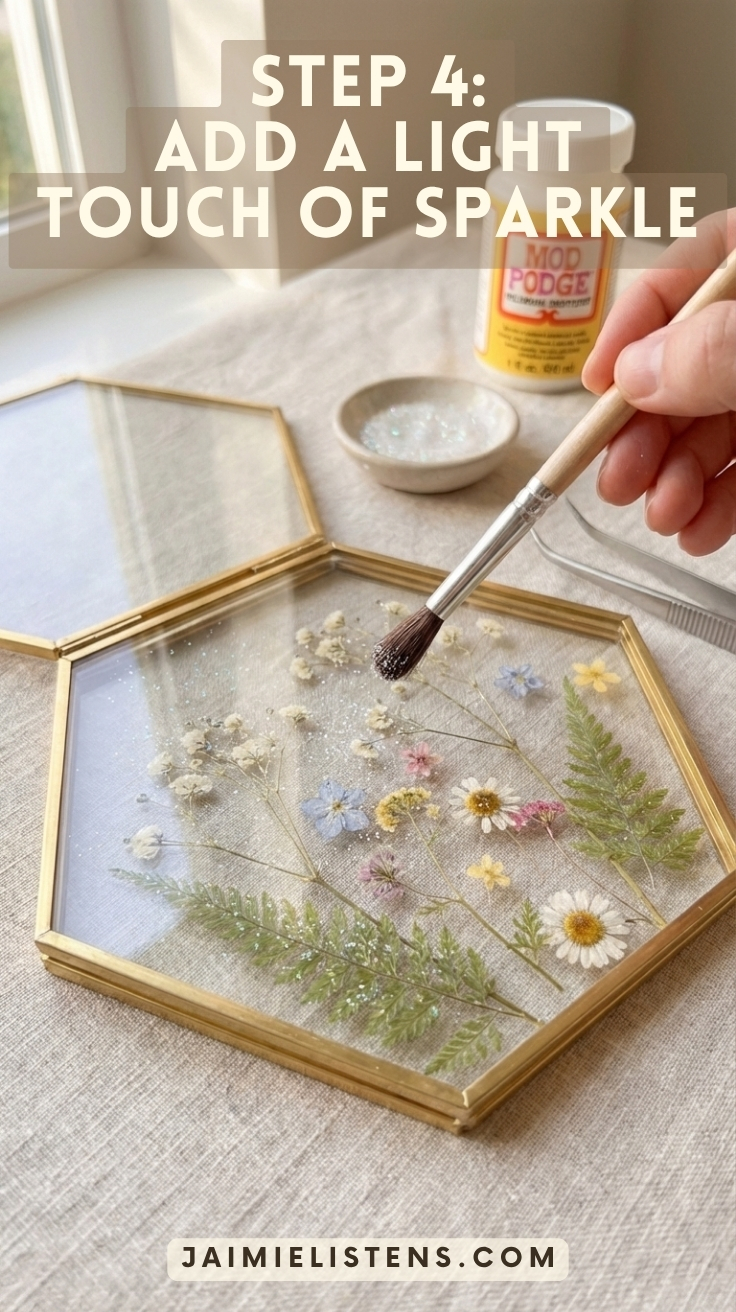
This is where we switch materials slightly—and it’s important not to mix these up.
The strong adhesive you used for the flowers (like B-7000) is only for holding things in place. It’s not meant to be spread.
For this step, use a separate clear, brush-on glue (like Mod Podge).
Using a small brush, apply a very thin layer of this clear glue in just a few areas—around flower centers, along a stem, or in a little bit of open space.
Then lightly add fine iridescent glitter and tap off the excess.
Keep this subtle.
You’re not trying to coat the piece—just add a soft shimmer that catches the light. If you can clearly see the glue layer, it’s too much.
Let everything dry before moving on so nothing shifts when you close the frame.
Step 5: Close the Frame (Once Everything Is Fully Dry)
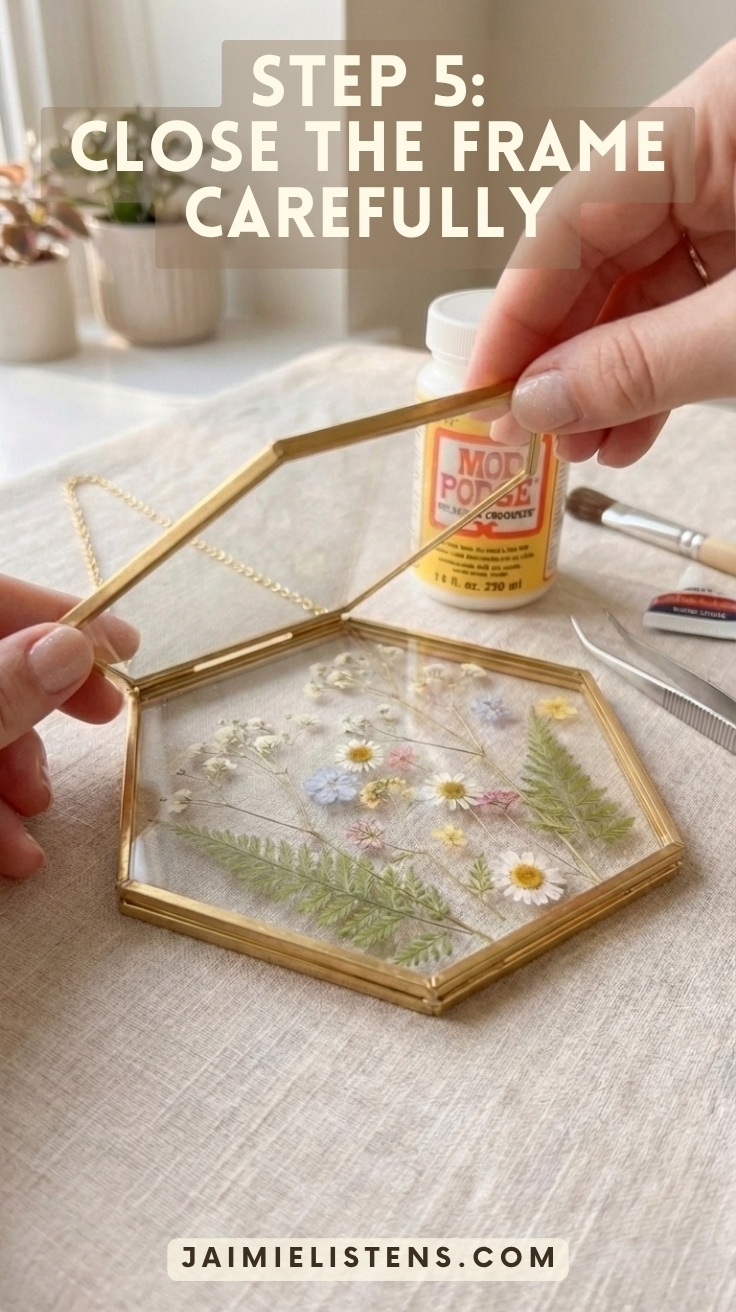
Before you close the frame, make sure everything is completely dry.
Not just “it looks dry.”
Actually dry.
That means:
- the adhesive under the flowers has set
- any Mod Podge or glue used for glitter is no longer tacky
- there’s no moisture left on the glass or materials
If you close the frame too soon, you can trap moisture inside, which can lead to:
- fogging or haze
- condensation
- flowers discoloring over time
Once everything is fully dry, carefully place the second pane of glass on top.
Go slowly so you don’t shift your design. Line up the edges and close the frame securely.
Before sealing it completely, take one last look for:
- stray glitter
- dust
- anything that doesn’t belong inside
This is your final chance to fix it before everything is enclosed.
Step 6: Add a Hanger (Simple or Upgraded)
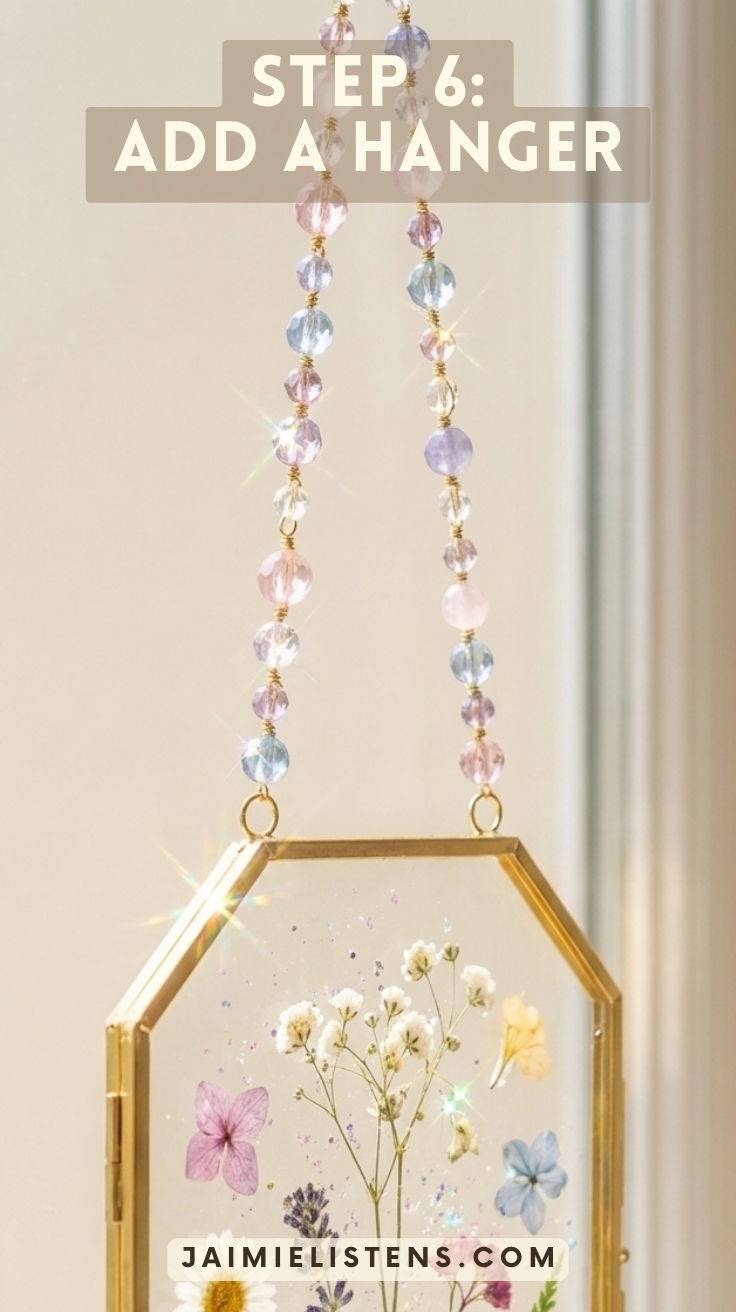
You can absolutely use the chain that comes with your frame and call it good.
But if you want this to feel a little more finished, this is the easiest place to upgrade it.
A simple beaded hanger—just a few small glass beads on wire or thread—adds just enough detail to catch the light and make the whole piece feel intentional.
Keep it light and minimal:
- a few beads is enough
- soft colors or clear glass work best
- nothing bulky or heavy
If the hanger starts to compete with the flowers, it’s too much.
This is one of those small details that makes people look twice without knowing exactly why.
Step 7: Hang It in the Window
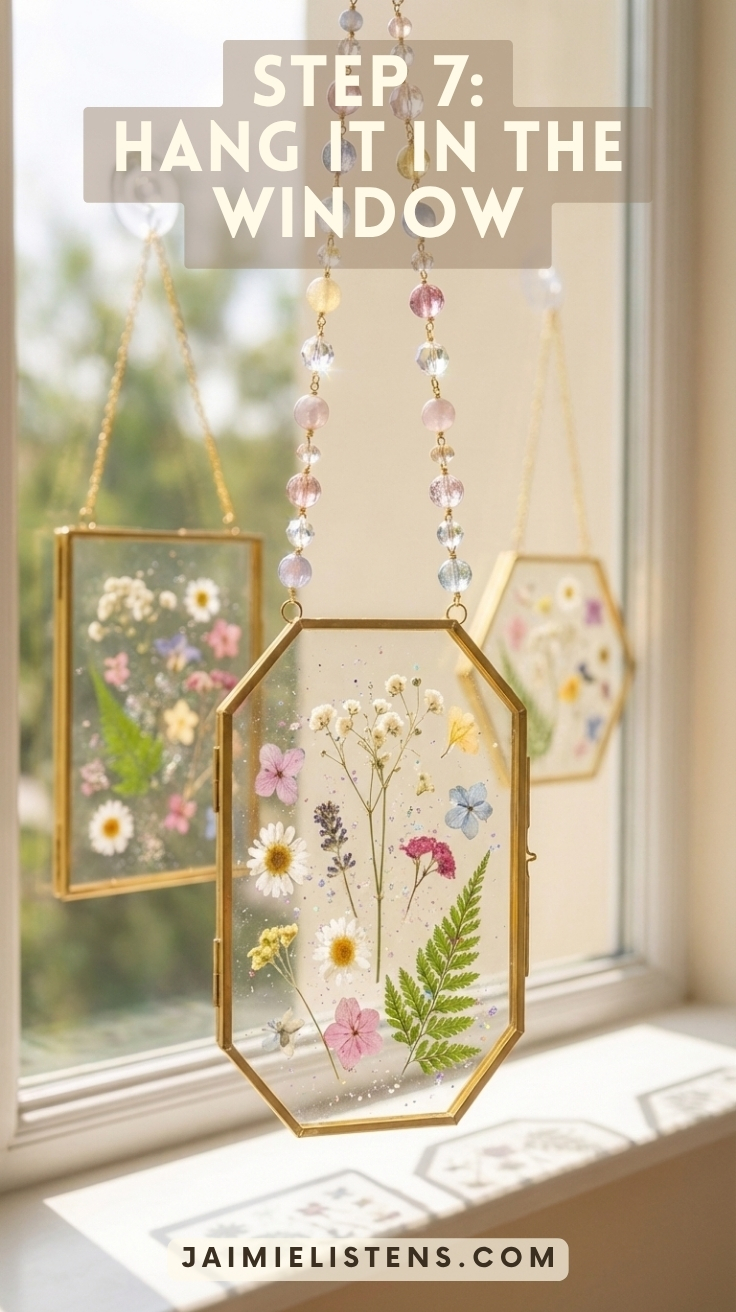
Place your suncatcher where it can catch natural light.
That’s when everything comes together.
The flowers soften, the glass disappears, and any little bit of sparkle starts to glow instead of sit on the surface. It shifts from something you made on a table… to something that actually belongs in your space.
And this is the part most people don’t think about when they’re making it:
Leave a little room for the light to do its job.
If you kept your design airy and didn’t overfill it, you’ll see the difference right away. The flowers won’t feel pressed flat—they’ll feel like they’re floating.
Picture This: A Pressed Flower Suncatcher That Brings a Little Garden Magic Indoors
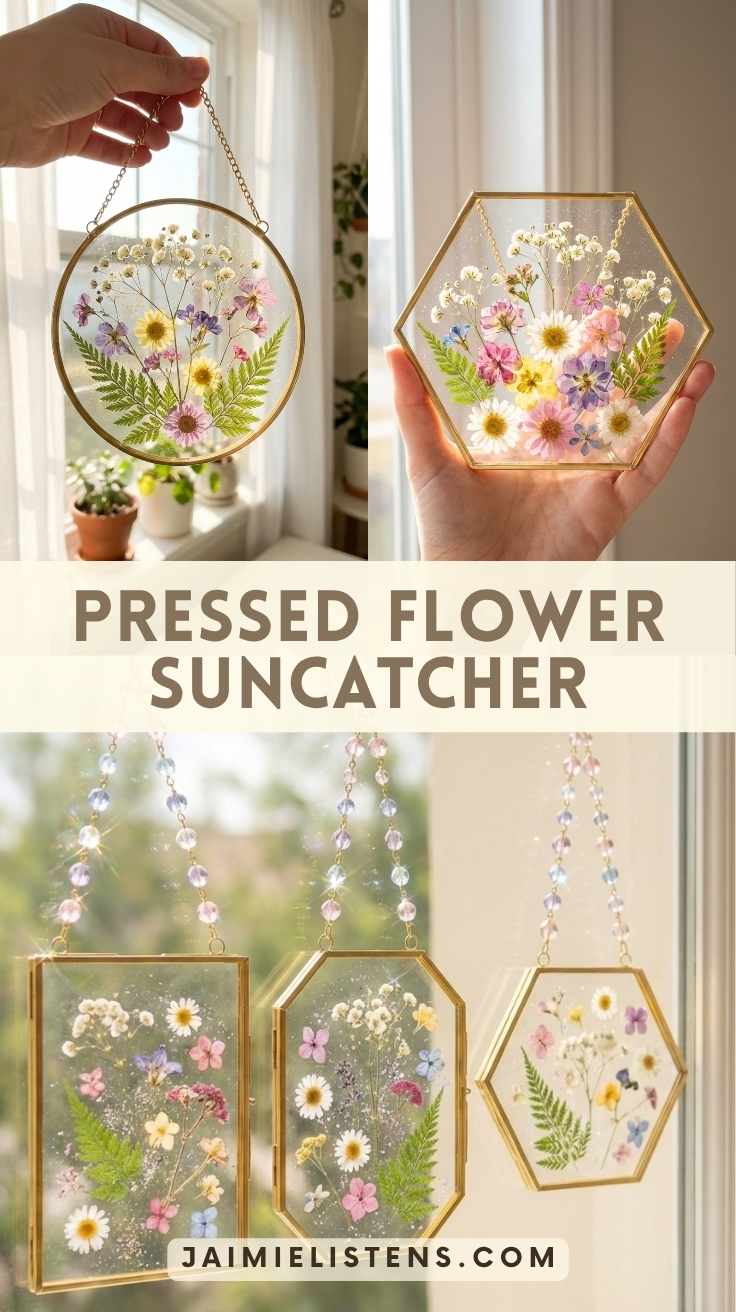
Morning light coming through the window, hitting the glass just enough to bring everything to life.
Soft shadows on the sill.
A little shimmer when you move past it.
Tiny flowers glowing in the sun like you caught a piece of the garden and hung it in the window on purpose.
That is what makes a pressed flower suncatcher so pretty in the first place.
It brings a little bit of the outdoors inside—just enough to make a room feel softer, brighter, and a little more alive. And with the delicate flowers, the clear glass, and that touch of sparkle, it has that quiet fairy-magic feeling without looking childish or overdone.
It is also the kind of project that makes a genuinely lovely gift.
Not a last-minute “I made you a craft” gift.
A real one.
The kind you could make for:
- a mom or grandma
- a gardening friend
- a daughter who loves pretty things in her room
- a teacher
- a neighbor
- someone who could use a little beauty in their day
You can make one with flowers that match someone’s favorite colors, flowers from your own yard, or soft beads that make it feel a little more personal. That is part of what makes these so special. They are simple to make, but they don’t feel generic.
And if you make a few at once, they would be beautiful grouped together in a sunny window too—almost like your own little pressed flower window decor collection, each one catching the light a little differently.
Not cluttered. Not overdone.
Just light, flowers, glass, and a little garden magic you get to keep—or share.
AI Disclosure: This post was created with the assistance of AI tools for brainstorming, editing, and organization, which helps me manage chronic pain and physical limitations during long writing sessions. All content is based on my real-life experience and is reviewed and edited by me. Some or all images in this post may be AI-generated for illustration and inspiration. Learn more about how I use AI here.
Disclaimer: Jaimie is not the great and powerful Wizard of Oz, a lawyer, a doctor, a veterinarian, or a CPA. Nothing you read in my blog is a substitute for professional advice and doing your own good research. Remember that just because someone has credentials doesn’t guarantee their advice is golden or perfect. Put your smart hat on and do your due diligence. Good luck!

Leave a Reply