
One of the MOST delicious and nutrient rich greens you can grow yourself is sunflower microgreens! It is easy, cheap, fun and they are absolutely delicious! You can your sunflower microgreens in salads, on sandwiches, as a snack and even share them with your bunnies and chickens!
I have experimented on and off with sprouting and growing microgreens, and even started a fodder growing system to save on animal feed costs. So, when one of my bunnies got sick and needed extra greens, I decided to bust out the sprouting equipment. We were having trouble finding a good variety of fresh greens in the stores this winter, so our only other option was DIY microgreens.
In the past, I tried sunflower microgreens using no soil, aka the “soil-less method.” They did alright, but they didn’t thrive and I CONSTANTLY had to water them to keep them from drying out!
Enter dirt.
Yes, this time I used a soil mix to see if it was worth the extra cost and dirt disposal after harvest. And, really, what fun is it to garden if you can’t get a little dirty? After some research, I found the type of dirt that I felt confident would work the best for me and learned that by having dirt, it actually helps keep mold from growing in the microgreens! That is another problem I’ve had to deal with growing barley and wheat fodder, so I was glad to know a few cups of dirt would help remedy it.
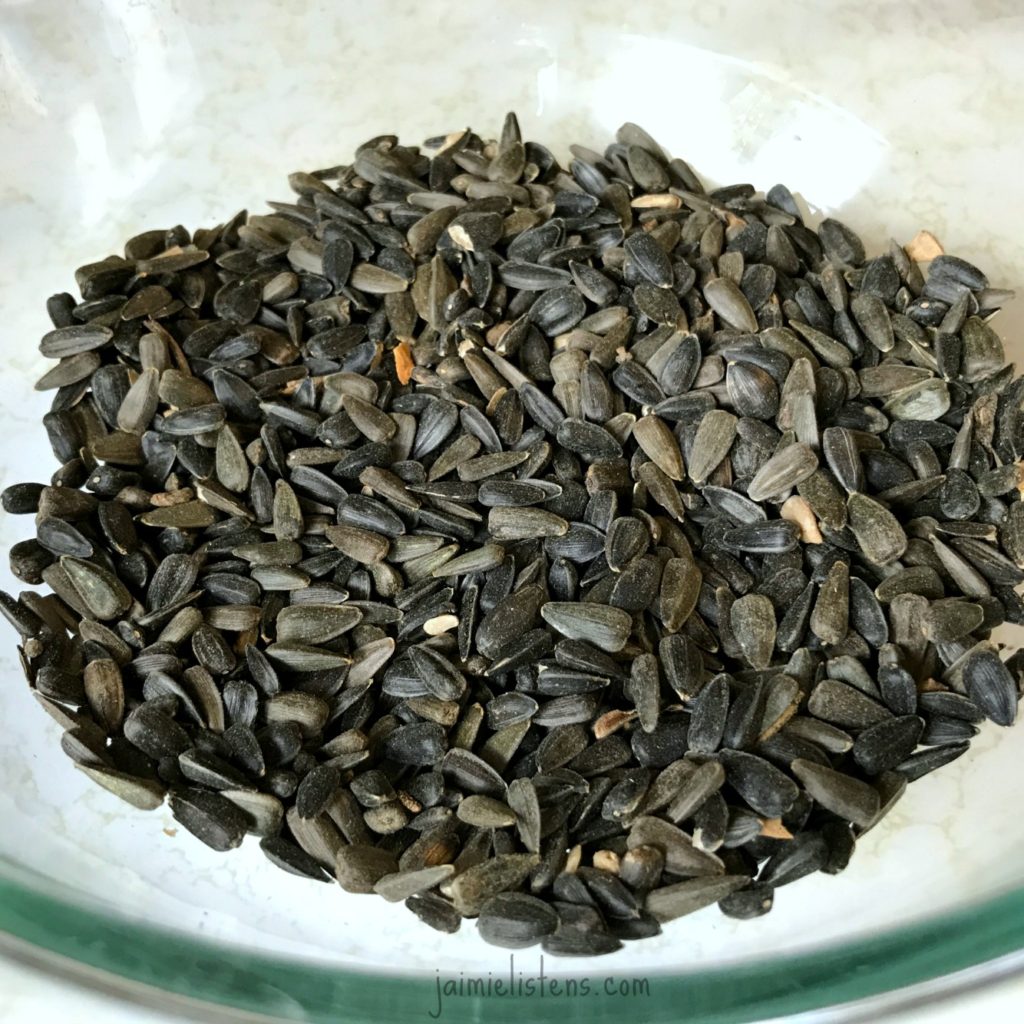
The sunflower seeds I used were the black oil sunflower seeds sold as bird feed in the pet store. Yeah, yeah they are not “people food” quality, but I don’t worry about that. I am not eating them as seeds. I am eating the sprouts. It’s not a big deal to pick out some of the wood pieces and occasional plant matter. What’s good for the birds is good for me and my super-awesome little bunnies! Plus, it is soooo much cheaper than organic. Not that there is anything wrong with organic! For me, the difference is negligible.
1) PREPARATION
The first step is to rinse the sunflower seeds and soak them 24 hours. This isn’t an exact science, so if you soak them 18 hours, or even 12 it will still work.
Then, rinse well, drain and set aside. I put mine in a glass Pyrex bowl and lightly covered it with plastic wrap to keep them from drying out.
2) DAILY RINSING
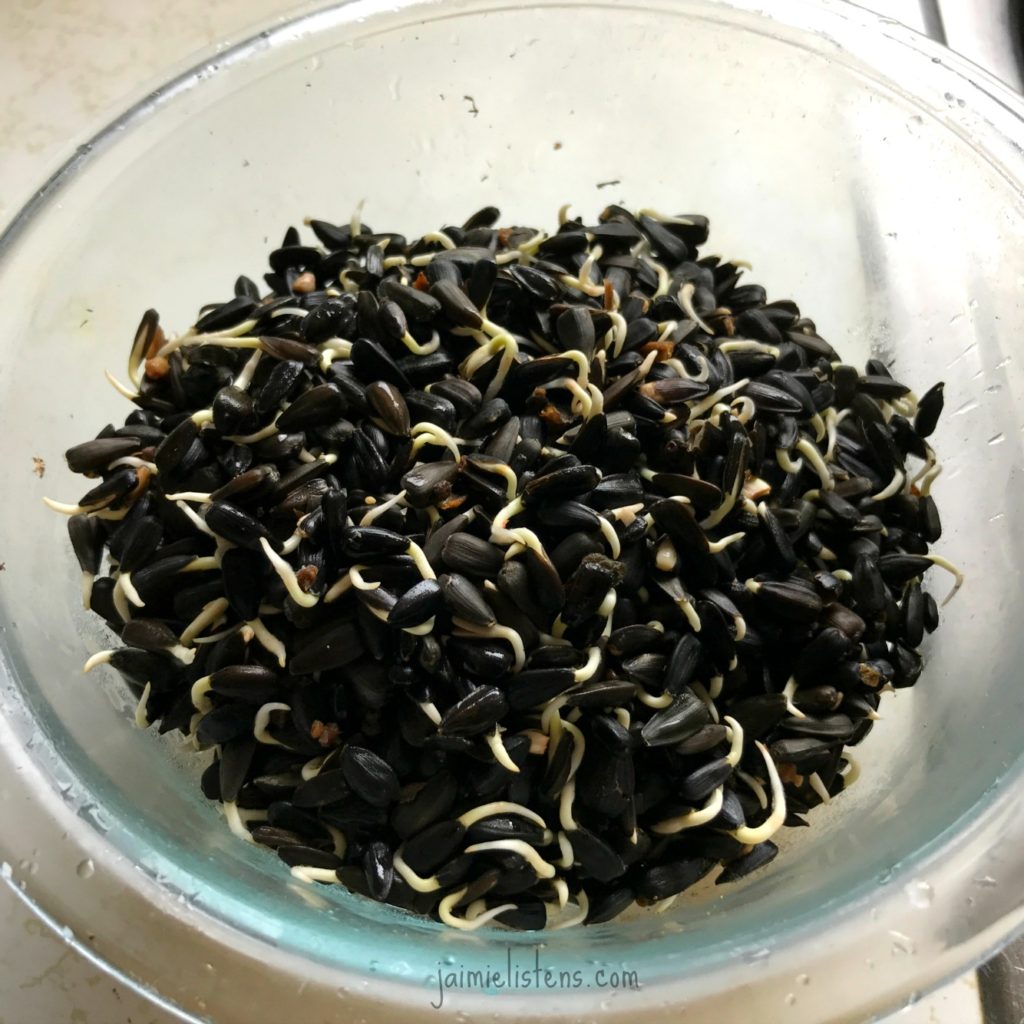
After that, rinse and drain 3 times a day. When I rinse, I try and let them soak for 15 minutes then drain. It seems to help them stay more hydrated, but this step is optional.
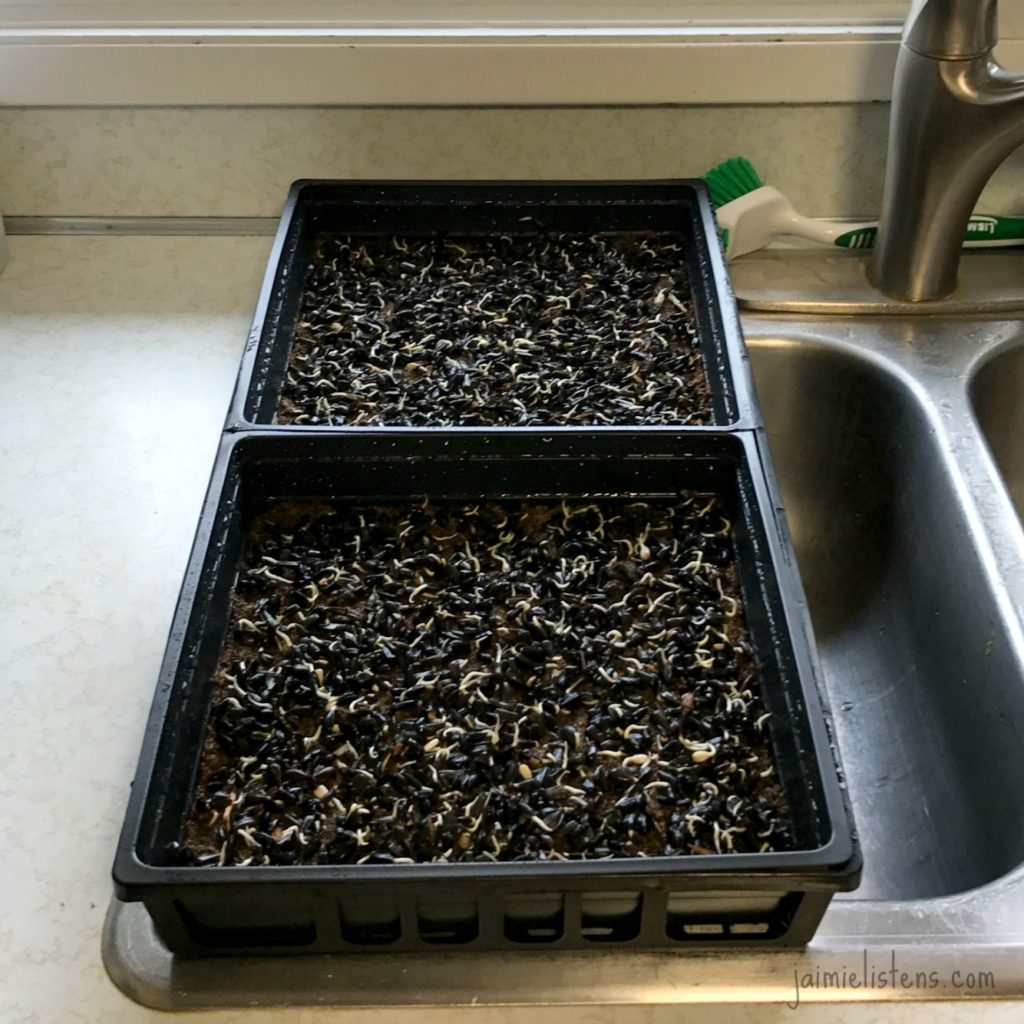
After most of them have adorable little sprout tails, they are ready to be planted in the dirt.

3) PLANTING
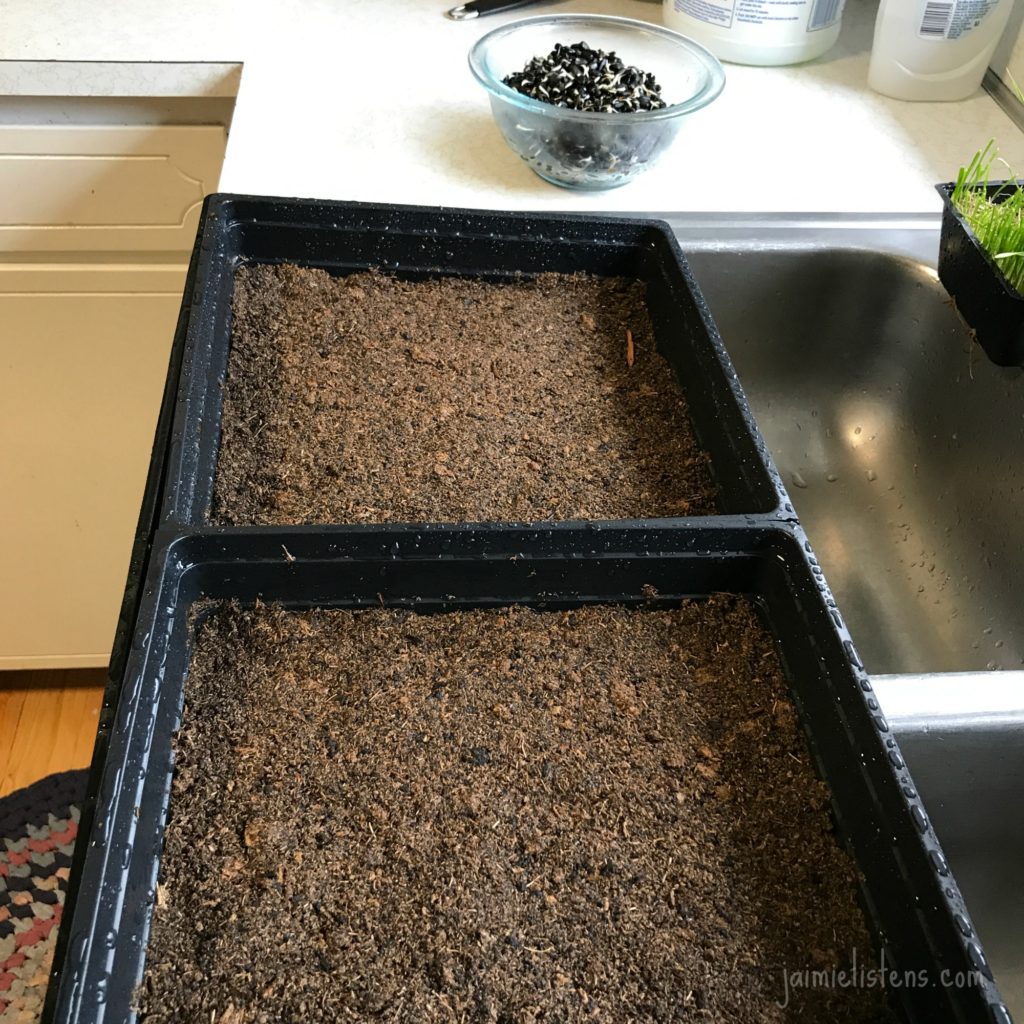
For my dirt, I used 1 part worm castings to 3 parts peat. You can also use cocoa coir instead of the peat. What is great about this mix is that the peat holds a lot of water and the worm castings provide nutrients.
I filled each tray with enough of the mix to have 1” of soil AFTER I had packed it down. You don’t want to leave it too loose, since it will settle anyway when you water it and you will end up with too little soil.
TIP: Pre-moisten the peat before mixing it with the worm castings and place it in the trays. Do this by breaking it apart and rubbing it in your hands while misting it periodically with a spray bottle. Wear gloves if you hate tiny microscopic slivers. Make enough for several batches to save time! Store it in a recycled bucket with a lid.
Once your moistened and packed soil is ready and in your trays, evenly and gently spread your sprouted sunflower seeds over the top of the soil. Then, water them in good.
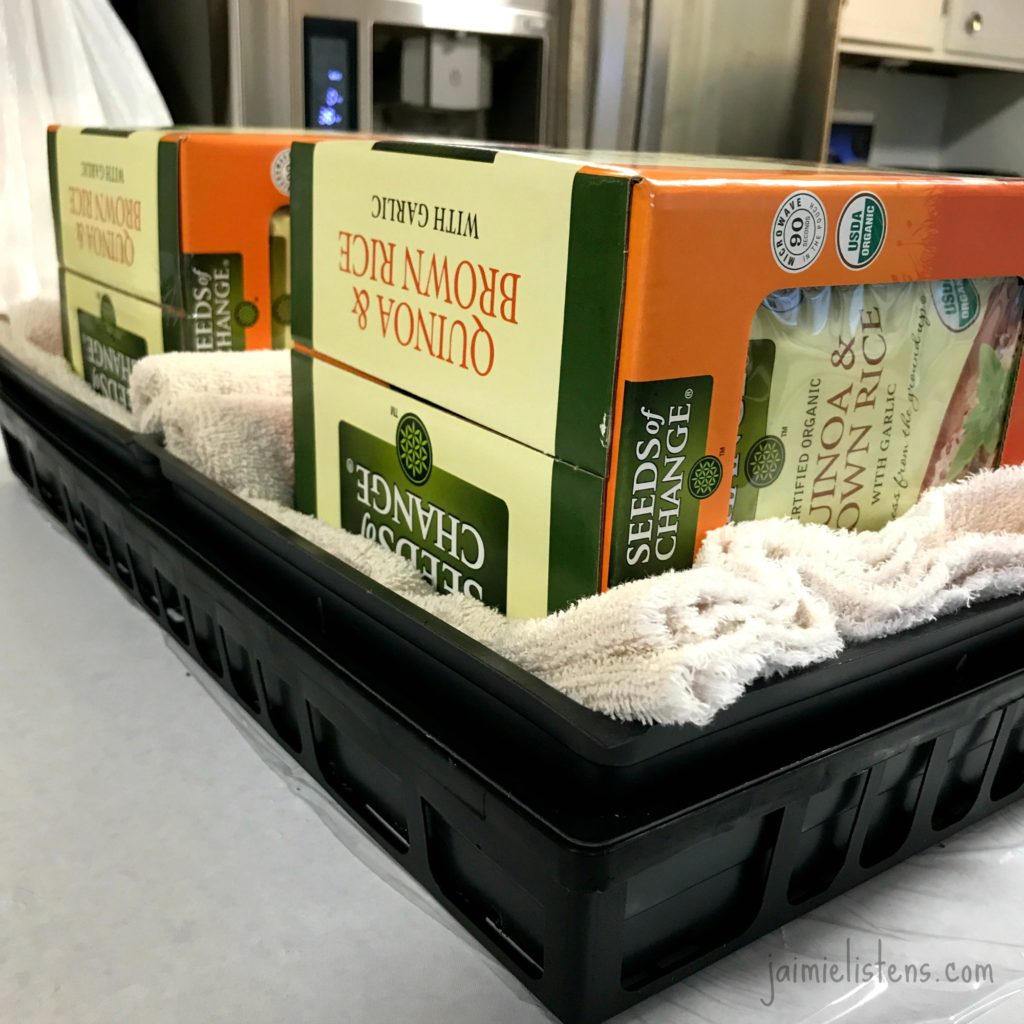
Next, place something on top of them for weight and to keep them dark. The best way to do this is to use a second tray over the seeded tray and put something heavy on top. No, not a bowling ball! That is too heavy, but feel free to get creative. Be sure to stack it so it sits down into the tray and touches the seeds.
I used an old towel under a box of my favorite rice pouches to help evenly distribute the weight.
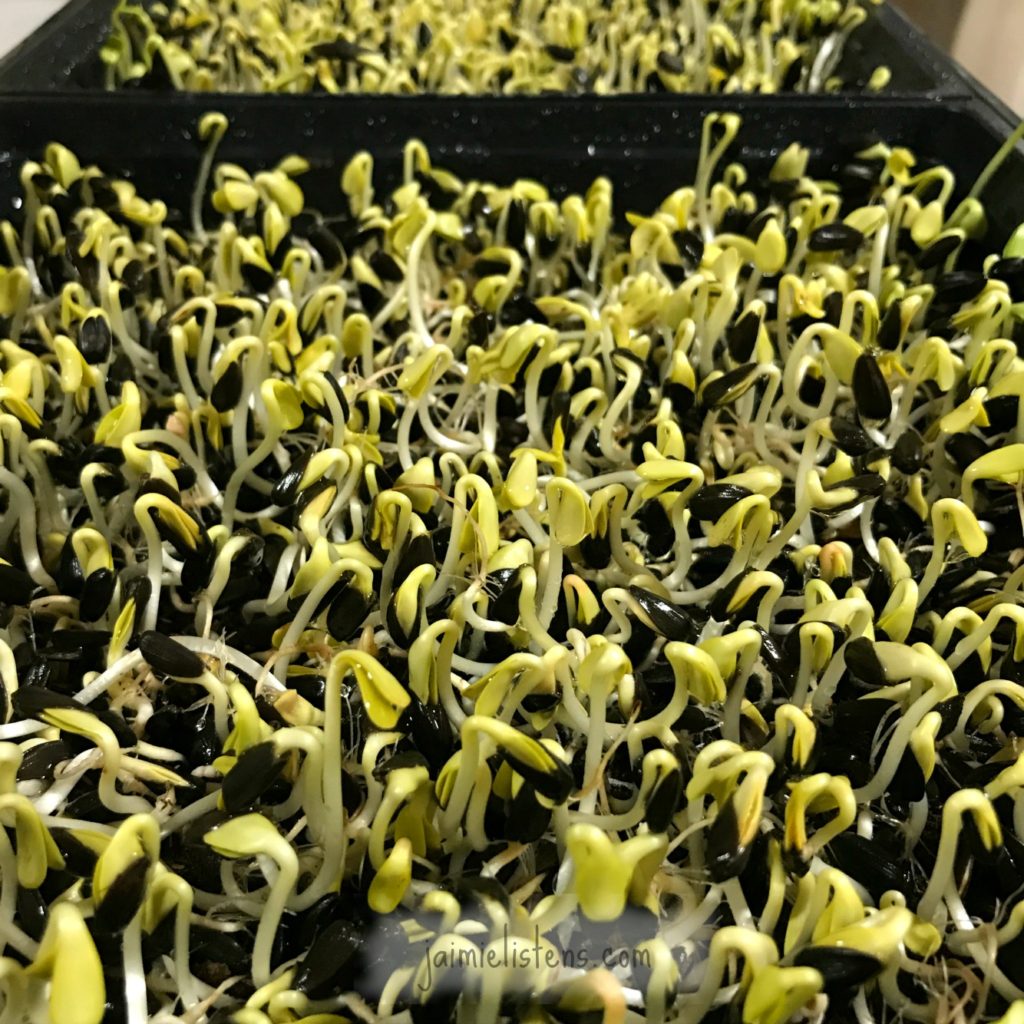
The weight will help give the sprouts something to push against and drive their roots into the soil. Give them two to three days and they will start pushing the top trays up. Water them well and let them drain. Now you can take the top trays off and put them under a light.
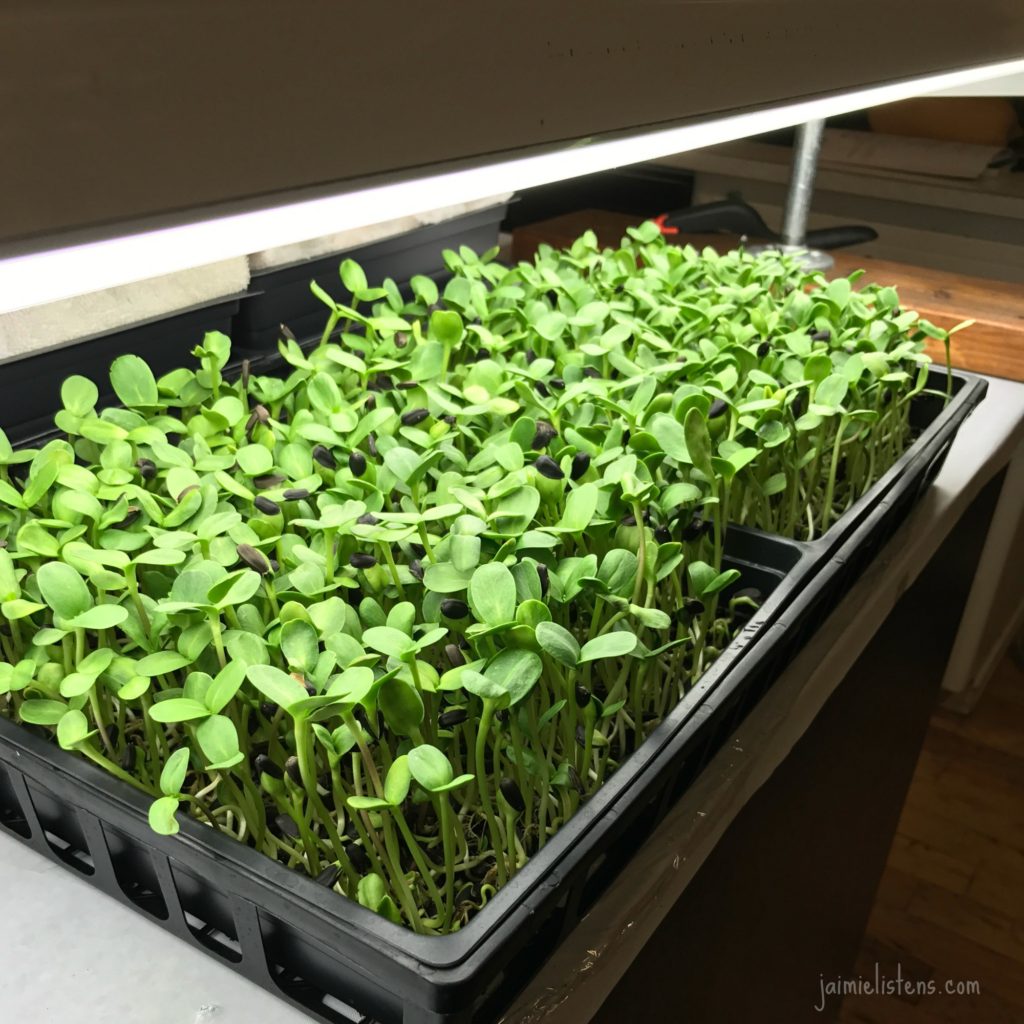
4) LIGHT REQUIREMENTS
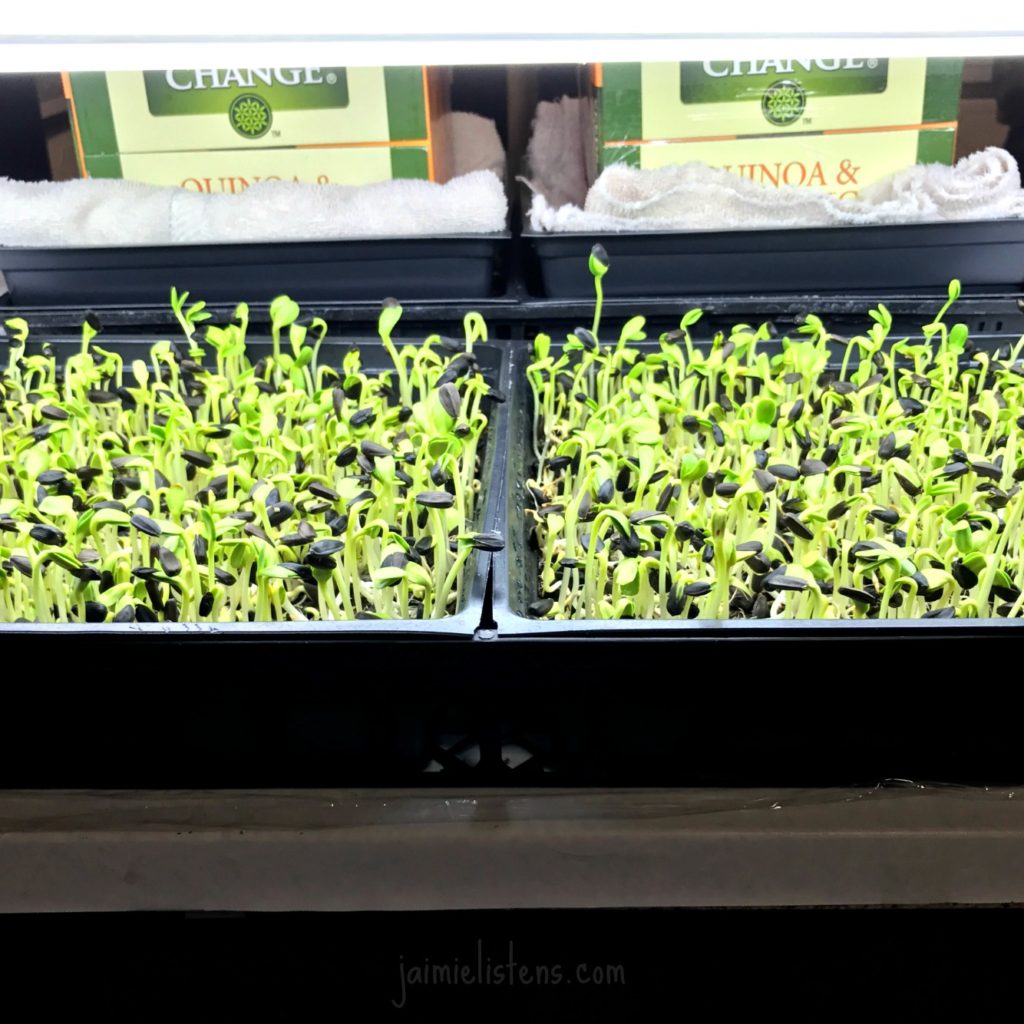
I use a regular shop light that I got from the hardware store for about $14. No, you don’t need full-spectrum lighting. Your tasty little sprouts won’t live long enough to need real sunlight. They are using the nutrients from their seed stores and nummy soil you gave them. The reason you need the light, is to help them green up and to keep them from getting leggy like long, limp spaghetti.
Keep that shop light just a few inches away from the sunflower microgreens to keep them shorter. You can brush the seed hulls off with your hands and more will come off when you water. You can put them on a light timer, but I just plug them in when I get up in the morning and unplug them after 12 hours.
5) WATERING
As for watering, depending on the room temperature of your home, just water them when they need it. For me, that was every other day. The peat does an amazing job of holding that water, and I think the less you have to water, the less chance you have of getting mold or fungus in your little crop. I like to brush the excess water off of the top to help them dry faster and be less prone to fungus and mold.
6) HARVESTING
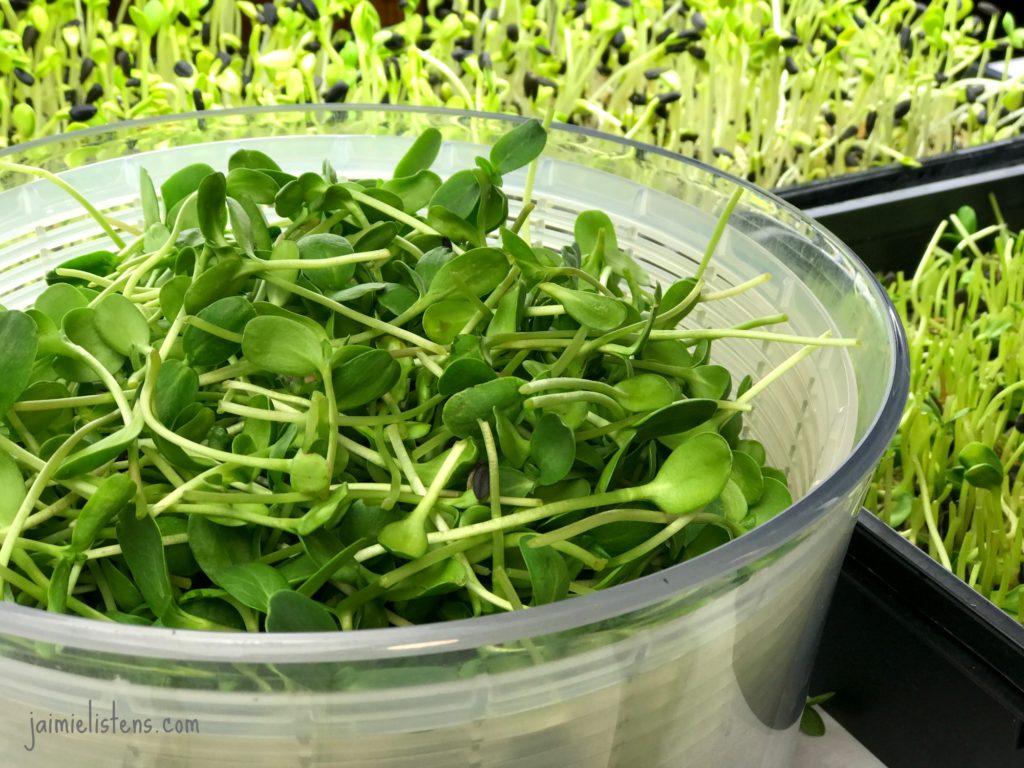
After those sunflower seedlings reach a height of about 4” and the second leaves are still pretty tiny, they are ready to harvest. Simply grab a bunch and snip them off just above the soil line. Pick off any hulls you see, since you don’t want those in your salad!
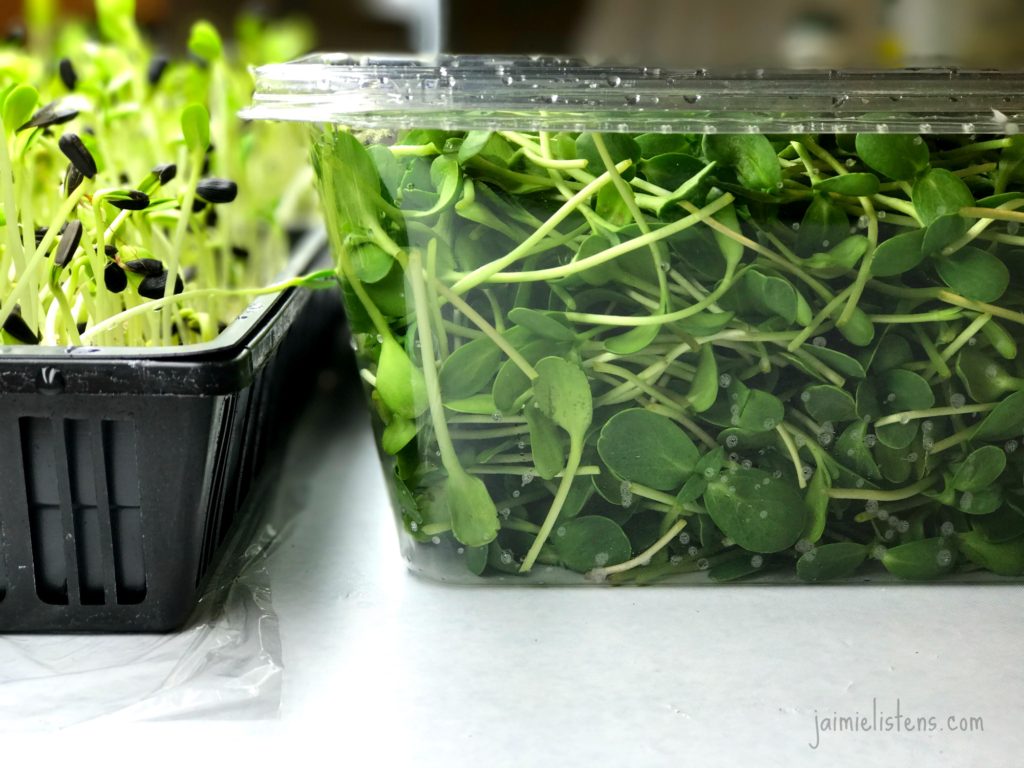
I don’t wash mine right away. I just harvest and put in a clean container and wash them as I use them. If you do wash them, you might put a dry paper towel in with them to soak up some of the water. I used a recycled spinach container from the grocery store.
7) EATING THEM
This is the best part! The reward for all your hard work! My favorite way to eat them is on a salad. They have a rich, nutty taste and amazing crunch. They have a good amount of protein, too! My rabbits adore them and suck them down like candy. Your delicious sunflower microgreens will last 7-10 days in your fridge.
SOIL DISPOSAL
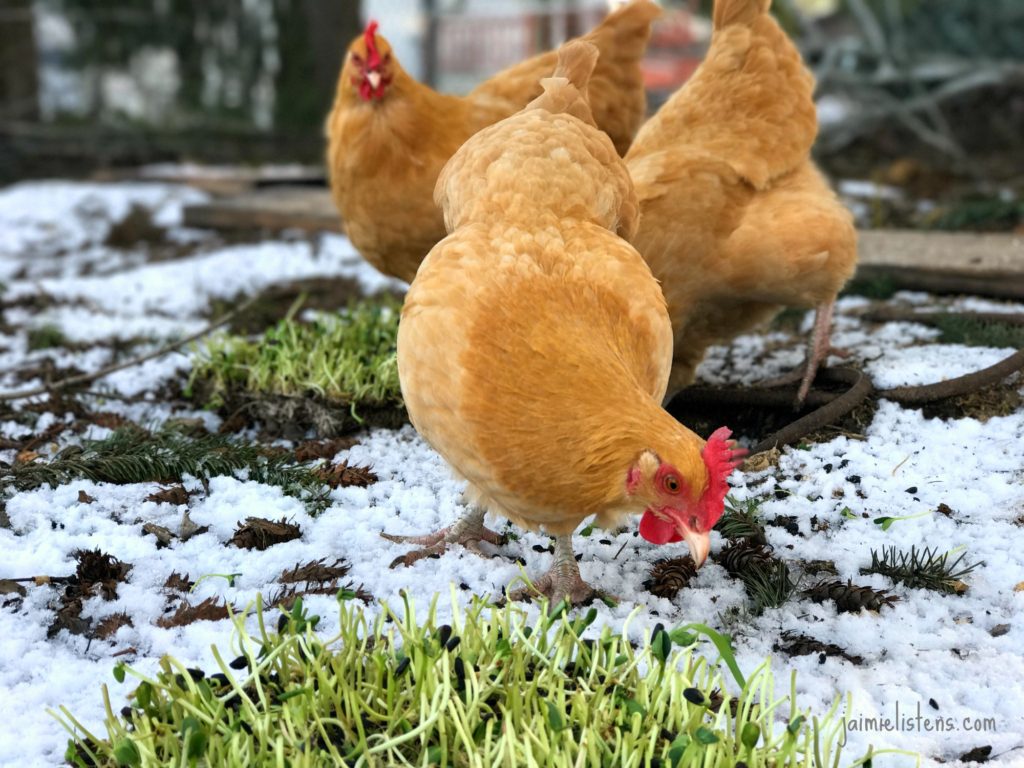
It is best to remove the dirt and roots from your trays as soon as you can after you harvest. They will still be moist and the roots and dirt will come off easier. You can compost your root mats, or as in my case, let your chickens have them to tear apart and feast on the leftovers. There will be enough tiny sprouts left at the bottom to give them something to enjoy and they will tear them apart for easy composting. Soak and scrub your seed trays with dish soap and a scrubby brush so you can use them over again. It is a good idea to soak them in a bleach solution of 1 part bleach to 10 parts water for 5 minutes and then rinse and air dry.
CONCLUSION
If you want to grow your own sunflower microgreens, you should definitely use soil. They are less likely to develop mold, it is A LOT less labor, they grow bigger and healthier and they taste so much better!
Disclaimer: Jaimie is not the great and powerful Wizard of Oz, a lawyer, a doctor, a veterinarian, or a CPA. Nothing your read in my blog is a substitute for professional advice and doing your own good research. Remember that just because someone has credentials doesn’t guarantee their advice is golden or perfect. Put your smart hat on and do your due diligence. Good luck!
Great post! Insightful and funny! Just what I was looking for. There is no reason to buy expensive sunflower seeds when you can use the bird seeds! I have chickens too and they will love your idea of throwing them the left over sprouts mats!
Thank you for sharing and best luck in your healthy and truthful life endeavor!
I’m glad you enjoyed it, Françoise! I hope your chickens enjoy them, and hopefully it will make your eggs even tastier. 🙂
Thank you for this much needed instructions. I’ve purchased many sunflower micro greens at farmers markets at expensive price not realizing how easy it is to grow your own. Once we had our own garden I realized how fun it was to grow your own veggies and had 7 foot sunflowers and thought wouldn’t it be fun to grow my own micro greens. Once we get settled again would love to try this. Thank u for the great tips and yes they make a lovely addition to salads. Blessings to you and yours.
Sherri
Hi, Sherri! You are welcome! Aren’t those tall, lovely sunflowers so much fun? We had one randomly seed itself in the middle of our garden and I let it grow up. It looked so nice there, we planted 3 the next year in the same spot. I hope your microgreens do well. They are so much fresher and cheaper when you can grow them yourself. I’m glad you stopped by and found some useful information!